-
×
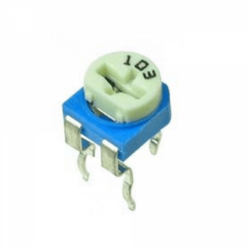 10KΩ Variable Resistor
₵0.60
10KΩ Variable Resistor
₵0.60
Arduino Projects – Tutorials, Ideas & DIY Builds
Getting Started with Arduino: Software Installation Guide

- Arduino – Software Installation >>
- Arduino – Hardware Preparation >>
- Arduino – Hello World >>
- Arduino – Code Structure >>
- Arduino – Serial Monitor >>
- Arduino – Serial Plotter >>
Introduction to Arduino
Welcome to the world of Arduino — where imagination meets innovation. Whether you’re building your first blinking LED circuit or automating a smart home setup, it all starts with installing the right software. This guide will walk you through everything you need to know to get your Arduino board up and running.
What is Arduino?
Arduino is an open-source electronics platform based on easy-to-use hardware and software. It allows users to design and control interactive electronic projects. Whether you’re lighting up LEDs, automating systems, or building robots, Arduino makes it possible—turning ideas into reality.
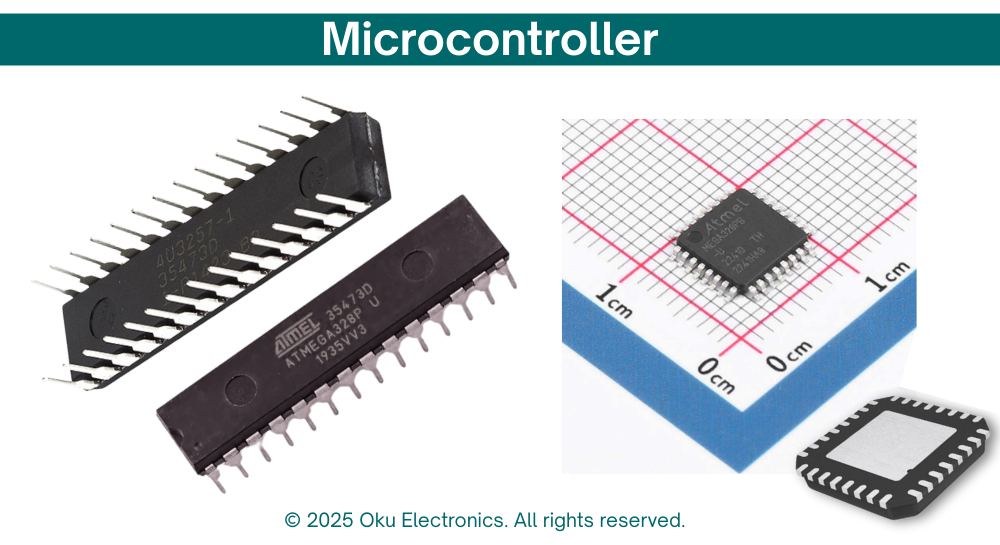
At the heart of every Arduino project is a microcontroller, a small computer that executes your instructions. This is mounted on a development board, which includes all the essential components to power, connect, and program the microcontroller.
With its user-friendly Arduino IDE (Integrated Development Environment), beginners and professionals alike can start coding in C++ with minimal effort. Arduino’s open-source nature encourages collaboration and innovation, making it a favorite among engineers, hobbyists, educators, and artists.
Key Components of the Arduino Platform
- Open-source Environment: All hardware and software are open to the public, allowing modification, improvement, and sharing across the global community.

- Microcontroller: Acts as the brain of your project, capable of reading inputs and controlling outputs.
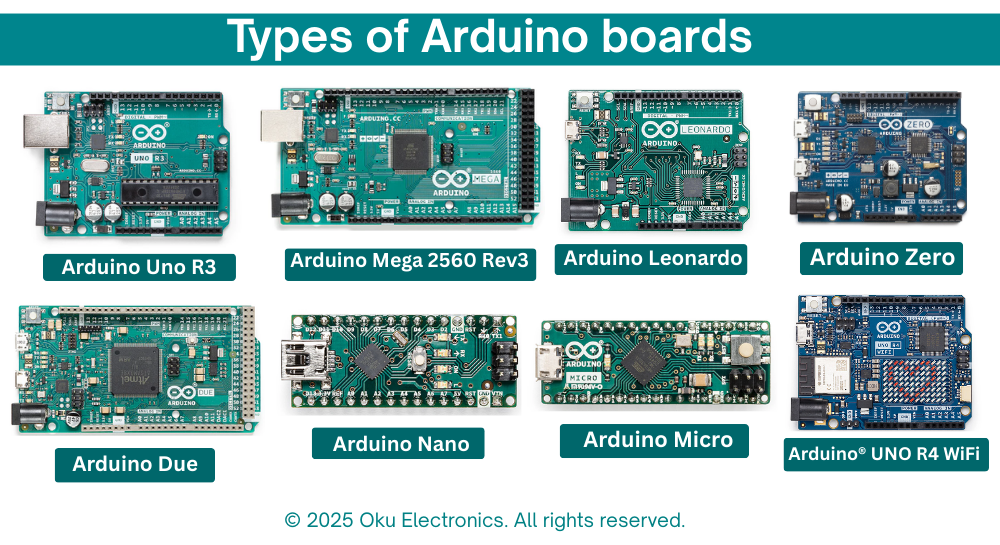
- Development Board: Contains the microcontroller, power circuitry, and input/output connections.
- Arduino IDE: A cross-platform application used for writing, compiling, and uploading code to the Arduino board.
Installing the Arduino IDE/ Arduino – Software Installation
To program your Arduino board, follow these steps:
1. Download the Arduino IDE
Visit the official Arduino website:
👉 https://www.arduino.cc/en/software
Choose the correct version for your operating system:
- Windows
- macOS
- Linux
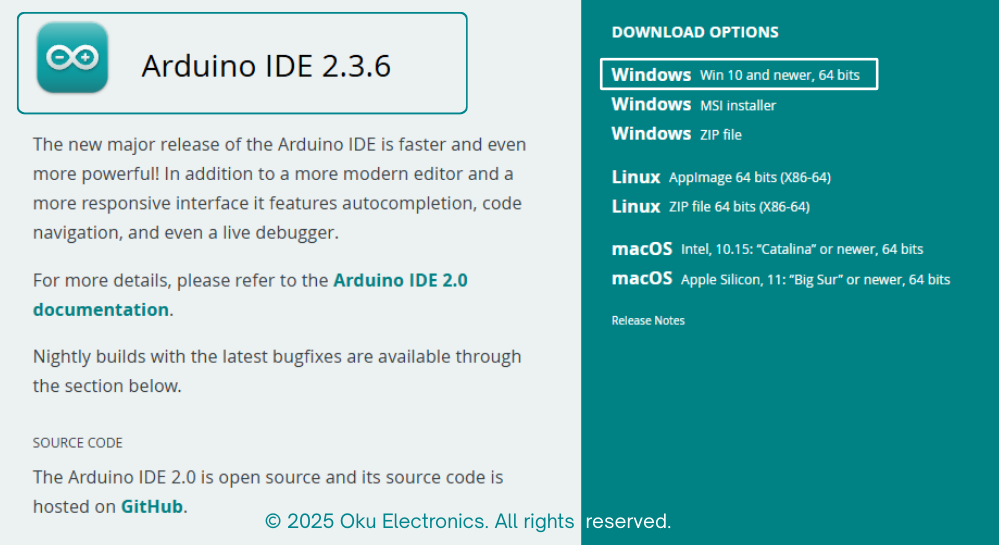
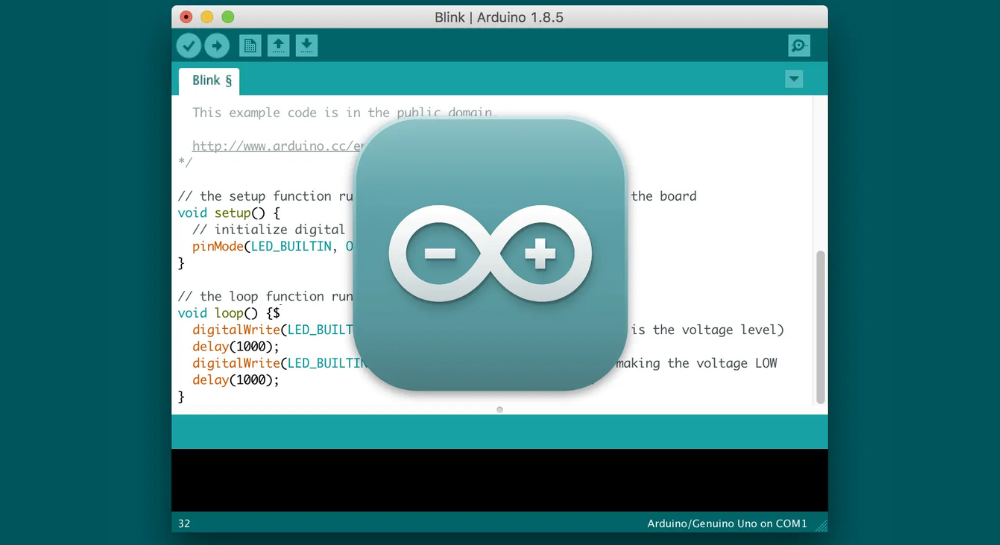
2. Install the IDE
Follow the installation instructions based on your OS. The IDE comes bundled with:
- A text editor to write code (sketches)
- A compiler to convert code into binary
- A programmer to upload the compiled code to the board
For most users, the installation is straightforward: install → write code → upload.
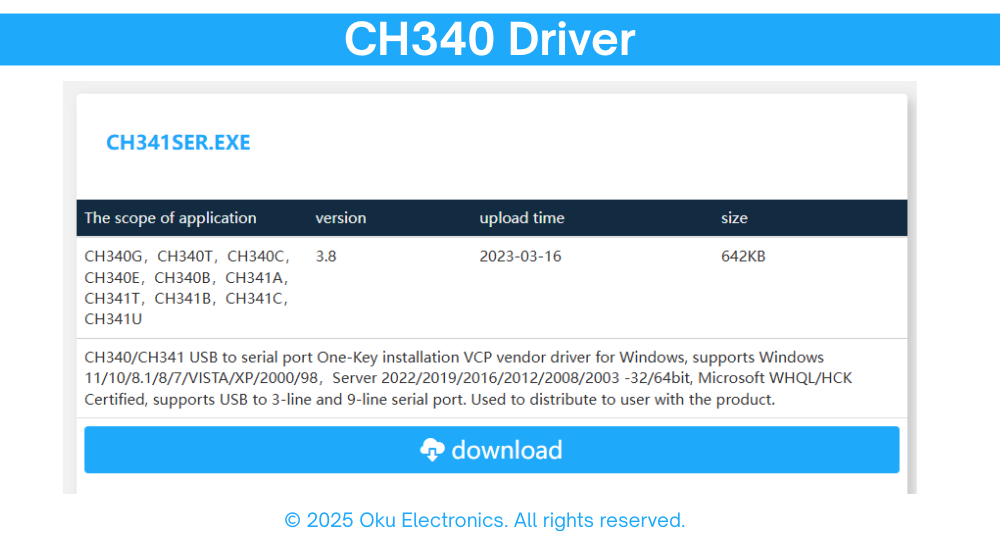
3. Driver Installation (for some boards)
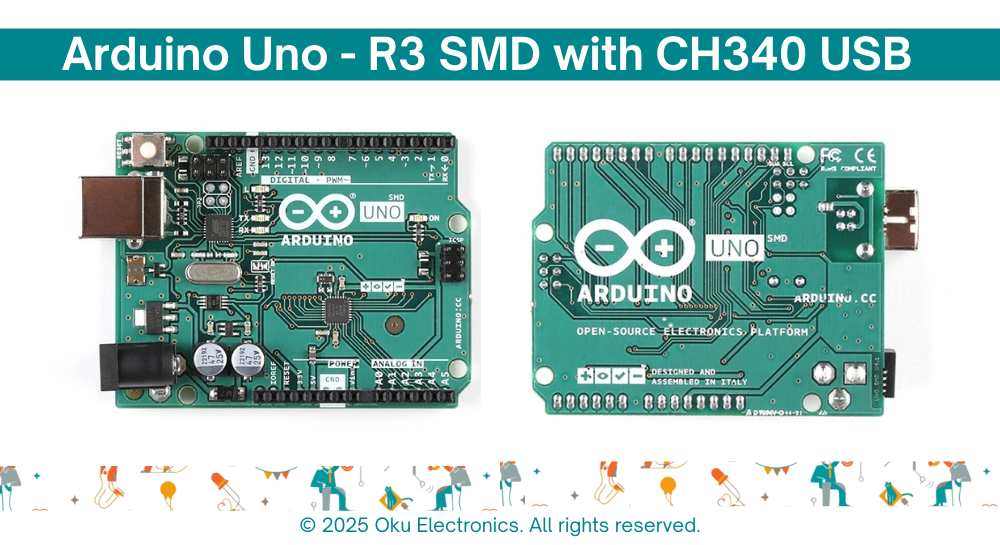
If you’re using an Uno R3 SMD with the CH340 USB-to-Serial chip, you need to install the CH340 driver:
🔗 Download CH340 Driver
Alternative: Arduino Web Editor
Alternatively, you can use the Arduino Web Editor, which allows you to code directly in your browser and store projects in the cloud. However, beginners are encouraged to start with the downloadable IDE.
Getting Help and Exploring Projects
The Arduino ecosystem is rich with resources:
- Arduino Forum
Ask questions, seek help, and share ideas with a global community. - Arduino Project Hub
Discover and contribute to real-world projects with full guides and code examples. - Official Documentation
Access in-depth technical resources, tutorials, and hardware references.
📚 Learn more: